Wallpaper tips & tricks
Did you know that WallHaus wallpaper is made in such a way that you only have to paste the wall and not the wallpaper itself? This saves you a lot of time and space.
Watch our video or the manual below and transform your interior in no time!
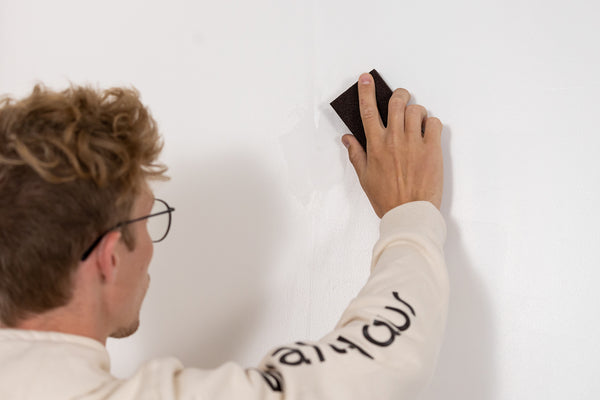
Preparation is half the battle
Dry and clean walls will enhance your unique wallpaper design. Sockets or switches? Remove the covers so that you can work easily afterwards.
Draw a plumb line 50-53 cm from the left corner, depending on the width of your wallpaper.
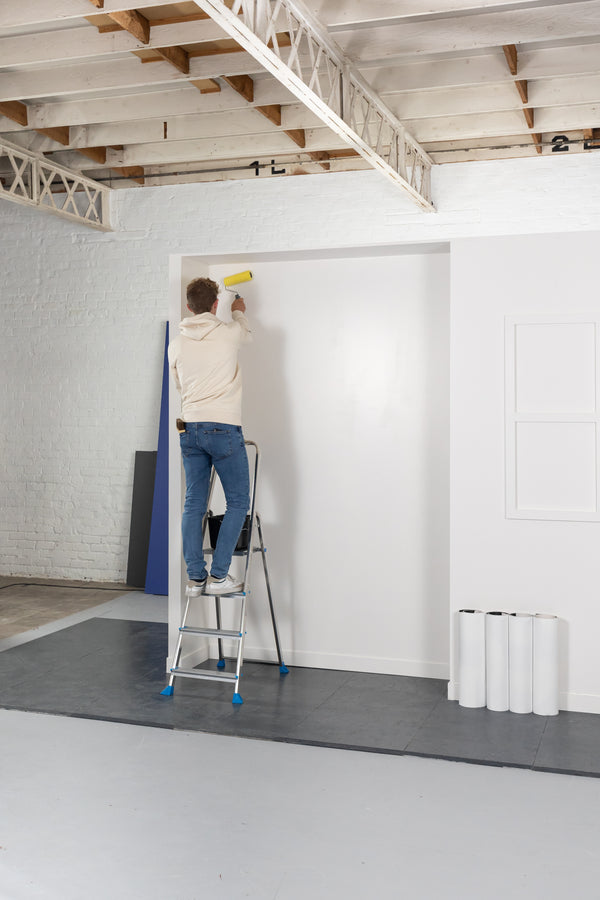
Make your wall sticky
Dissolve the glue powder with water in a large bucket according to the instructions on the packaging.
Let's get sticky! Use a roller for the large sections and a brush for the edges. Glue your wall generously, extending a little beyond the wall.
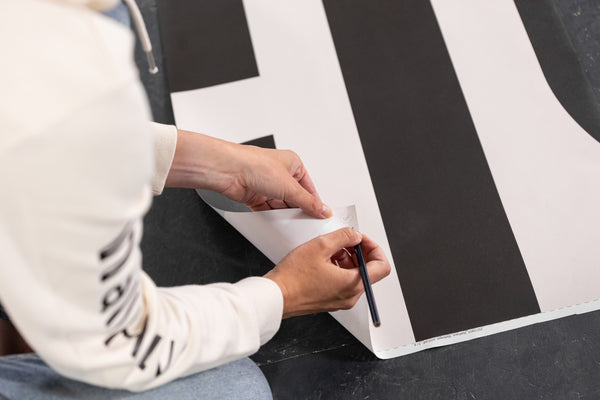
Number the wallpaper strips
Be sure to respect this order. We recommend using pencil to number the strips you cut at the top of the design. This way you will lose less time and marital quarrels.
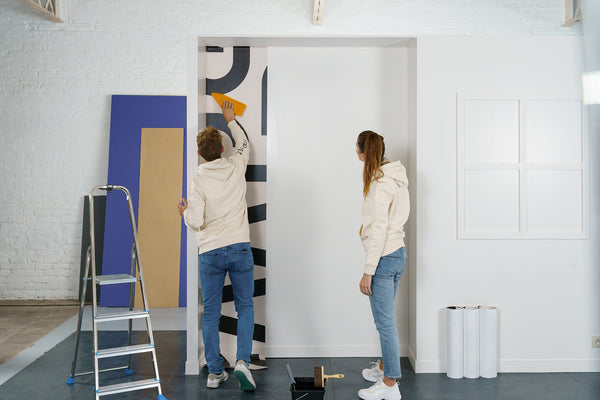
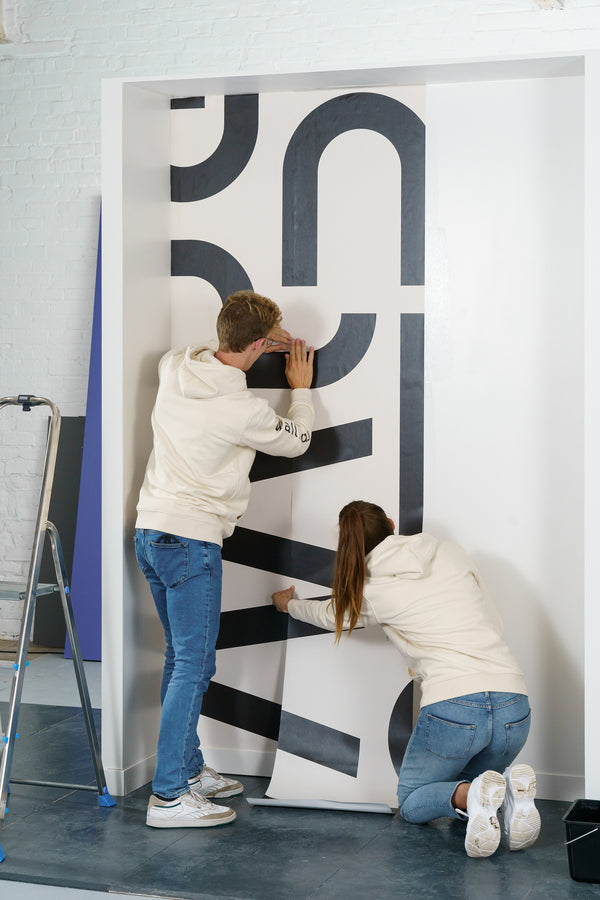
Ready, steady … wallpaper!
Ready for the first strip? Position your paper along the plumb line, apply gently to the wall and smooth down using the spatula. Now all you need to do is trim the edges on the sides using a sharp (!) utility knife, and your first strip is done.
Made a mistake? Don't worry, you can carefully peel off the paper and re-position it.
Paste the next wallpaper strips
The second strip is even easier. Simply align the patterns and hang the second strip next to the first, butting it to the seam.* Excess paste between the seams? Wipe this off using a slightly damp sponge. You can also use your seam roller to ensure the seams are flat and invisible.
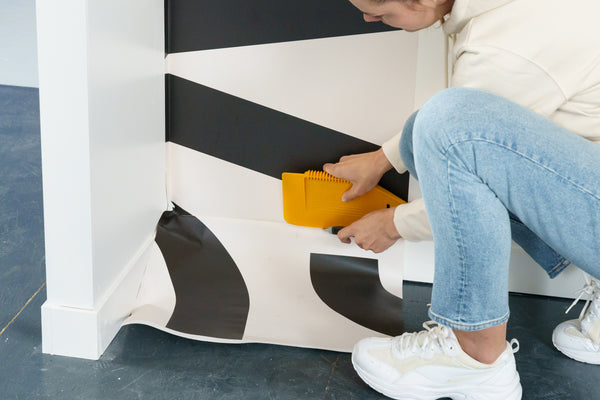
Wallpapering over corners
Come up against an internal corner? • Measure the distance from your last strip to the corner and add a 5mm margin. • Cut that same width from the next strip and continue wallpapering until just over the corner. • Continue with the remaining paper from your strip. Encountered an external corner? • Carefully fold your wallpaper over the corner and press down firmly.
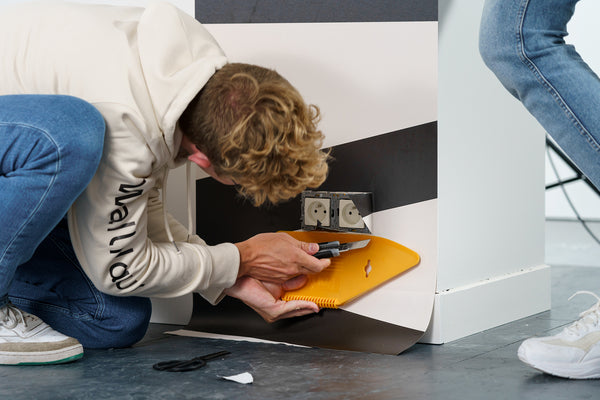
Wallpapering over wall sockets and light switches
A common phenomenon that you can readily master. • If you haven’t already done so, remove the cover. • Wallpaper over the socket/light switch and mark the edges using your spatula. • Cut the socket out of your wallpaper, press down the edges firmly and then trim along each side using your utility knife.
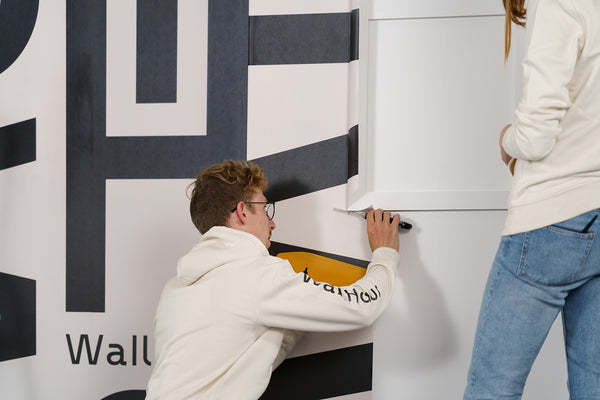
Wallpapering near window or door
Stumbled across a window or door? • Wallpaper up to the frame and press the edges down firmly using your spatula. • Cut in the corners of the window or door diagonally*. • Trim the edges and … finito!
*In the wallpaper-free side, obviously.